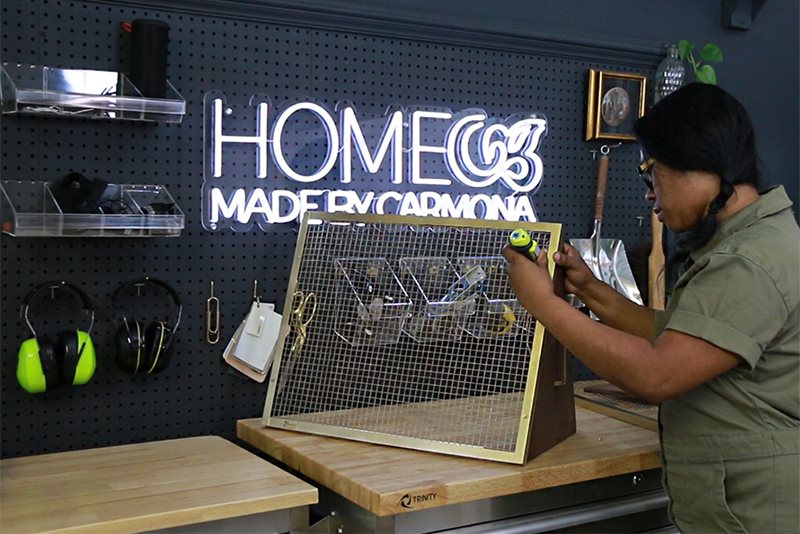
Enjoying gardening season, but something keeps eating your young seedlings? We have just the solution for you with this stylish protective plant cover!
Directions
1. Cut Materials
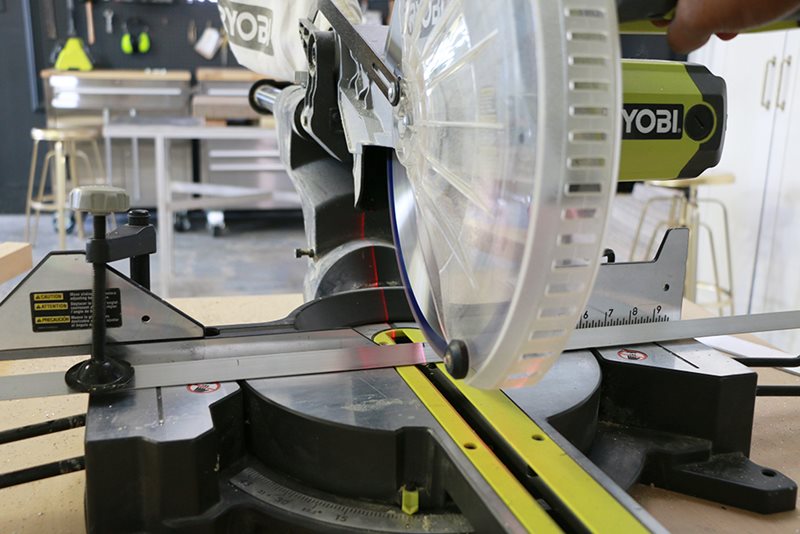
To start, you’ll need to cut some ¾” angled aluminum bars to create a rectangle frame. You’ll also need some ½” flat aluminum bars, ½” plywood, and hardware cloth cut at this time.
2. File & Clean The Aluminum
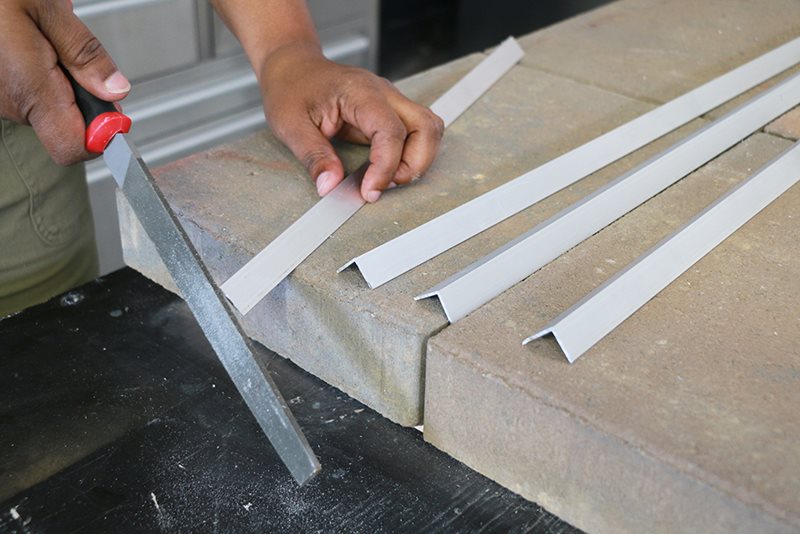
File any rough edges on the aluminum and clean with acetone.
3. Assemble the Frame & Solder
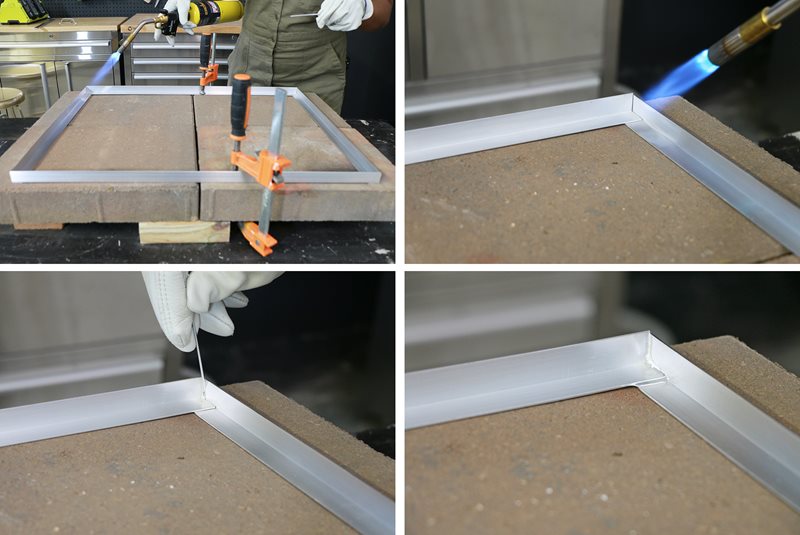
Create a rectangular frame, and use a speed square to make sure it isn’t skewed. Clamp in place, and solder the four corners.

Important Note: Heat the aluminum frame up until it is hot enough to melt the brazing rod on contact. This is important for a strong joint.
4. Insert & Attach Hardware Cloth
If you haven’t already done so, cut the hardware cloth to fit inside the frame.
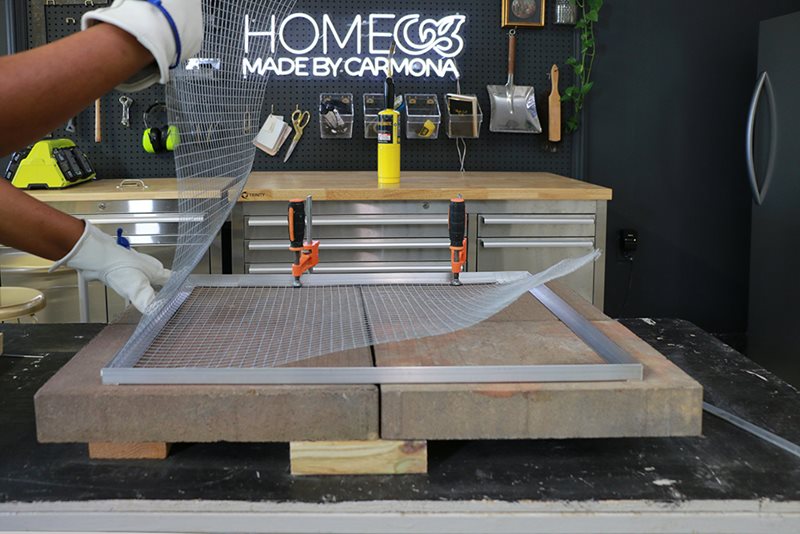
Lay the flat aluminum bars across the long sides of your rectangle frame, and solder in place. Important Note: Only solder the edge where the flat bar and the angled bar on the frame meet. Don’t attempt to solder the area near the hardware cloth.
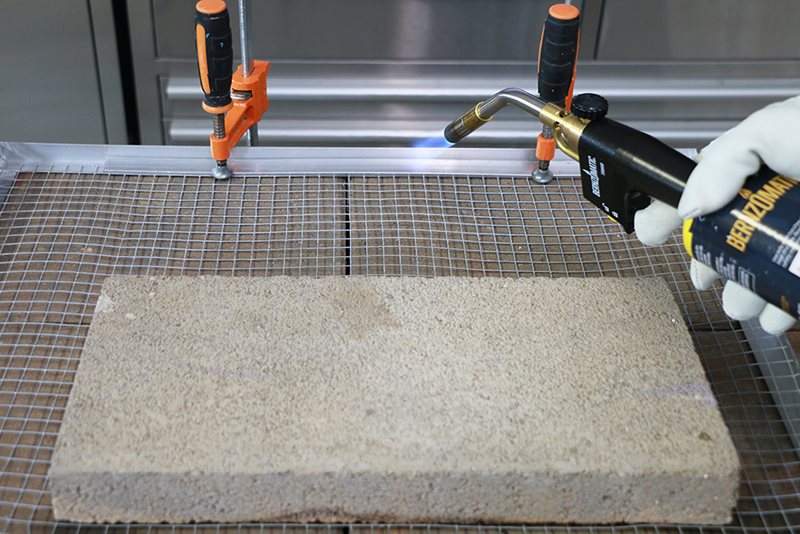
Follow these steps again to create the second frame.
5. Stain & Seal
Stain your wooden triangle pieces, and seal it so it will withstand outdoor elements.
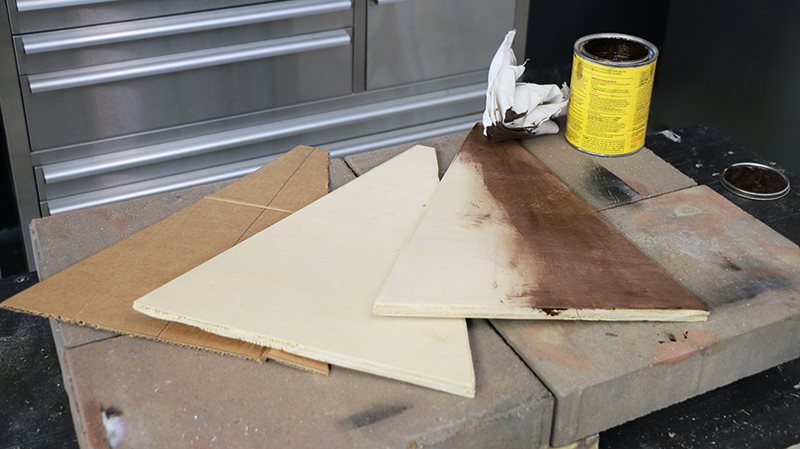
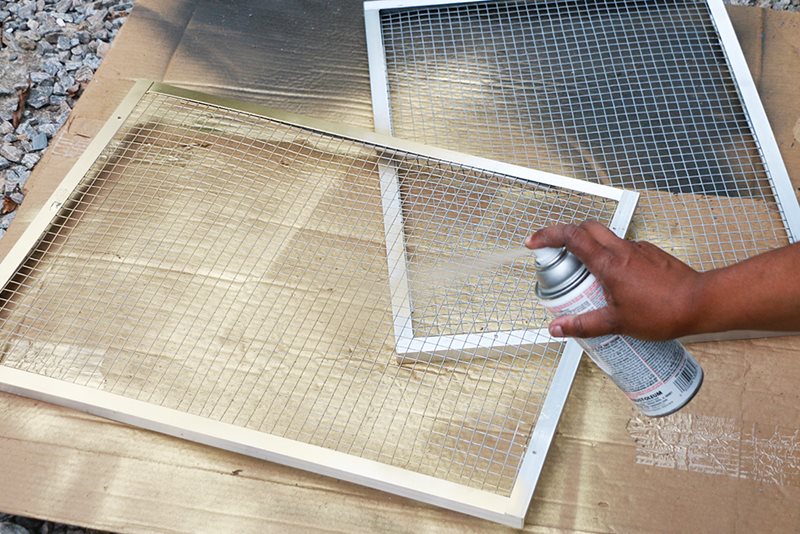
Drill four holes in each of the rectangle frames; two on each 18” angled bar, just a couple inches from the outside. Finally, spray paint and seal your metal frame with a clear coat.
6. Assemble The Plant Protector
Use brass screws to attach the metal frames to the wood sides via the drilled holes.
