I've really enjoyed making a couple Steampunk lamp projects in the past. It's an absolute bundle of joy to convert a pile of copper fittings and mixed items into a unique, artistic creation.
Celebrating my third year as a Bernzomatic Torch Bearer, I decided to make my third Steampunk "lamp" a fun holiday project. I'd make a heirloom Christmas tree topper that will last for years.
These materials and methods are easy to configure into almost any type of lamp, with or without the cool Steampunk styling. In addition to the table lamps I've done in the past, I can imagine menorahs, centerpieces, window "candles," chandeliers, etc. I'll also share some ideas for more economical material options later in this post.
Directions
Creating a Rough Design

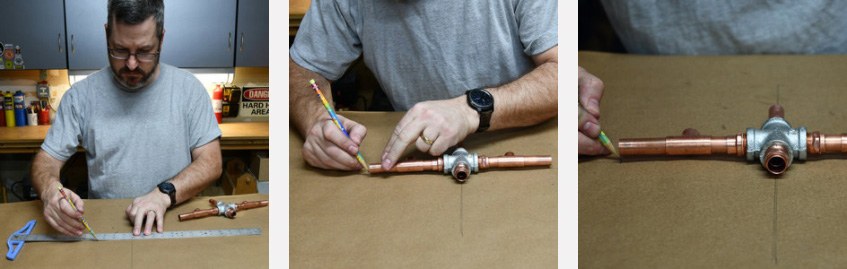
I started with a quick sketch and gathered the material I thought I might use for my creation. I began to cut and dry fit the pieces together. It makes a whole lot more sense to have all the cuts complete before the soldering process begins.
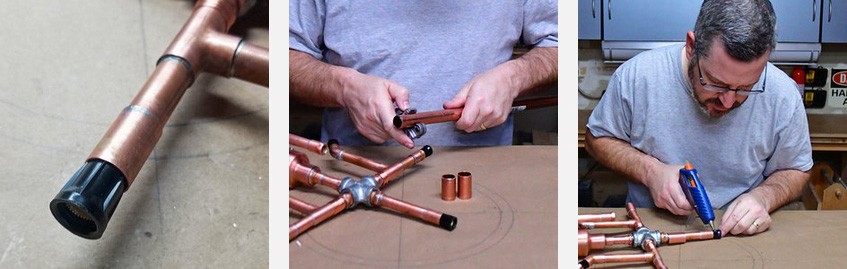
Assembly began with a 4-way, cast-iron, threaded-cross fitting from the plumbing section of the homecenter. I added four 1/2" threaded male adaptors, screwing them in tightly. These connectors featured an integral cup to accept copper tubing.
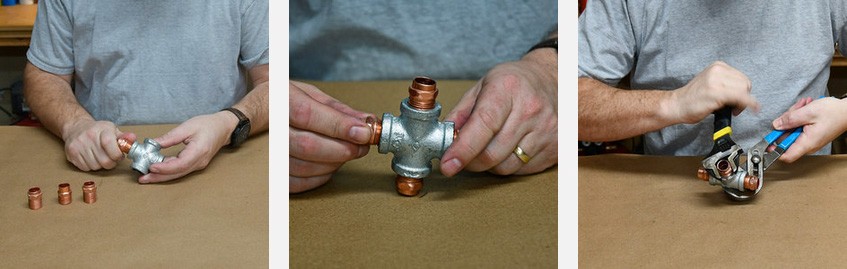
Some kind of wiring box to hide my electrical connections would be necessary. Rather than hiding it out of sight, I decided to feature it by creating an intentional part of the design. I had pieced a bulbous assembly of various copper adaptors together earlier at the home center. It would be a cylindrical junction box.

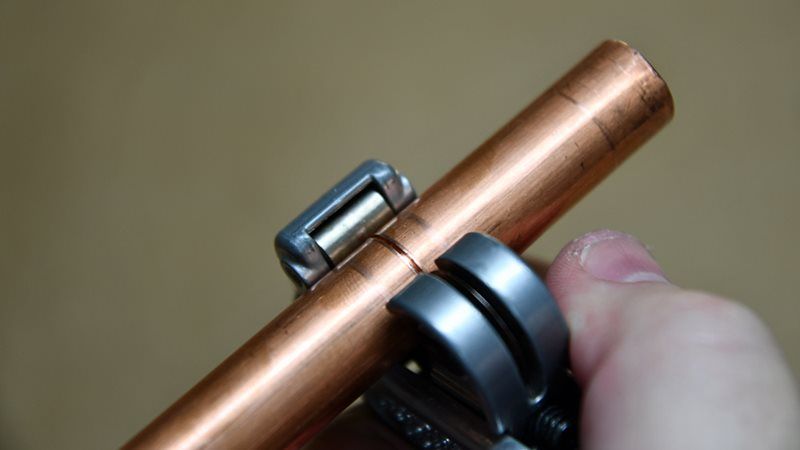
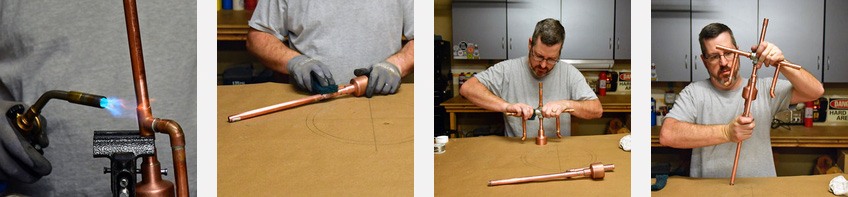
Piece by piece I cut all the joining copper tubing to size. I used a mini tubing cutter that slips easily around the pipe and gets spun around-and-around the cut point.
After a couple turns, the knob got tightened before spinning the cutter again. Repeating this a few times drives the cutting wheel deeper into the softer copper, until it pops apart. It makes a clean and straight cut.
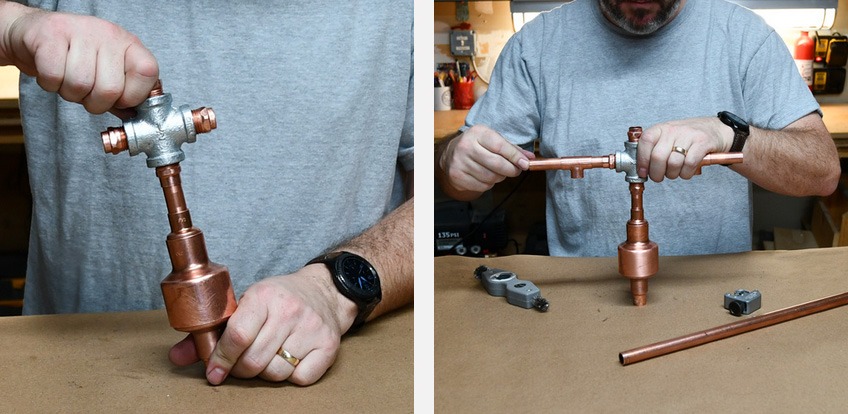
I slid several of these pieces to the growing assembly. I added T-shaped couplings to the "arms" as they sprouted.
I had decided I was going to place 5 lamps, pointed outward in a star-like pattern. Somehow, I had to be sure that each of them was of equal distance from a center point. The best way to do that was to lay it out on my paper-covered workbench.
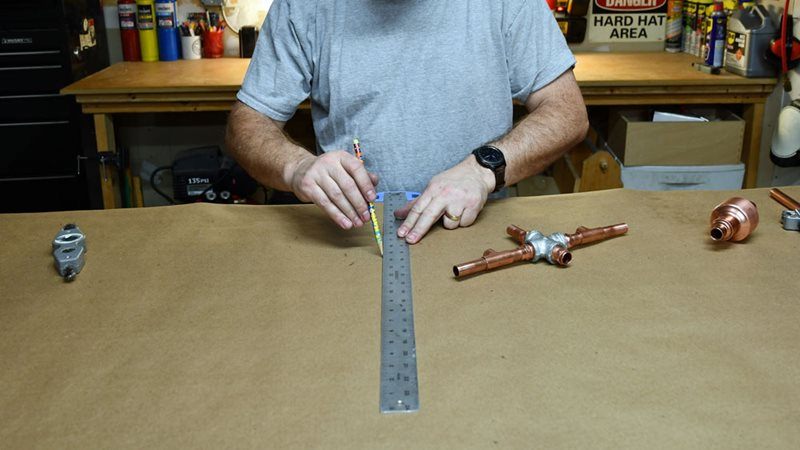
I started with a large 90 degree "X marks the spot" target and laid the cast iron cross centered on the X. I marked the length of one of the arms so I could get an exact distance from center for all the points of the star.
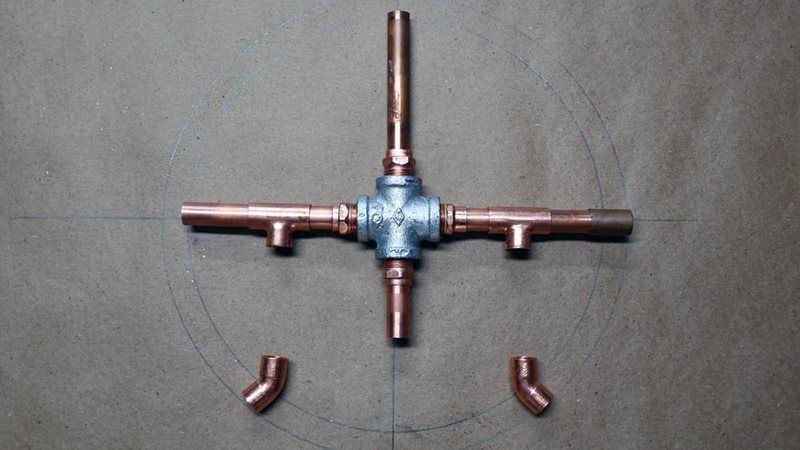
With the distance set, I used a compass to draw a big circle with a radius of the center to my mark. This circle would be my stopping point for each "arm" that would hold a lamp.
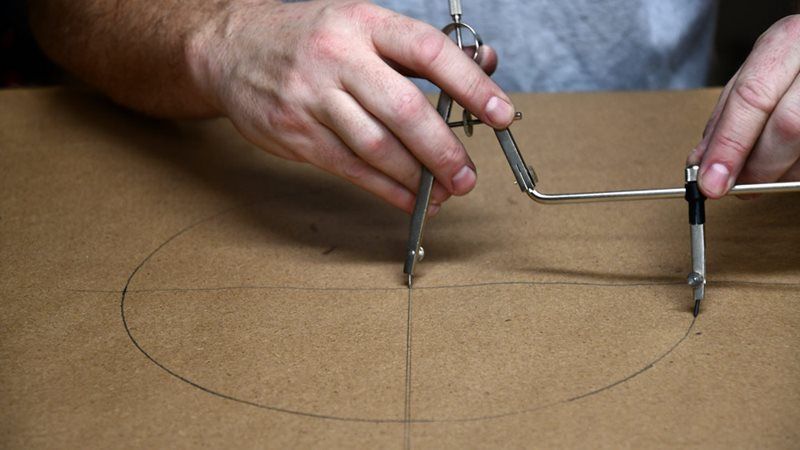
Since the assembly was not soldered together, I played around with the design, moving pieces around on the paper, taking the creation apart and putting it together again until I came up with my final design. I drew a second circle to include the extended length of a coupling that I'd add to the end of the arms. The angled arms would end with 45 degree elbows that wouldn't need a coupling.
With the layout complete, I was able to measure and cut the pieces to finish the dry-fitting of the design. Rather than make my copper shape form the star, I'd let light bulbs do it later. I wanted that angular, steampunk / industrial look to be more interesting.
Make It Permanent - Soldering
Soldering copper may seem scary, but it's really fun and quite easy to do. Creative projects like these are an awesome chance to learn and practice the skill without worrying if plumbing connections will hold water. I've really come to enjoy this step.
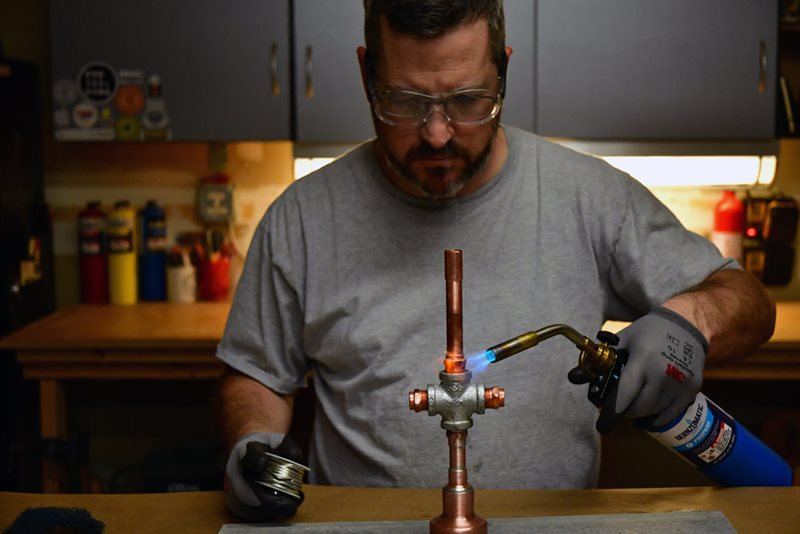
For this project I chose the Bernzomatic TS-8000 Max Heat Torch. It's an instant-on, trigger start blow torch with an adjustable flame, my favorite of the line. I laid down a piece of cement board to protect my paper covered workbench and threaded a fresh cylinder of propane into the torch head.

Soldering is super easy. It's just four simple steps:
- Clean both mating edges of the copper with a wire brush or emery cloth. I really like using a specialized brush that does the inside and outside with one tool.
- Apply a thin coat of plumbing flux.
- With the pieces assembled, fire up the torch and heat the fitting side of the joint until the flux starts to bubble and sizzle. It takes 30 seconds or so.
- Touch the connection area with an extended piece of plumbing solder and watch it get slurped into the joint.
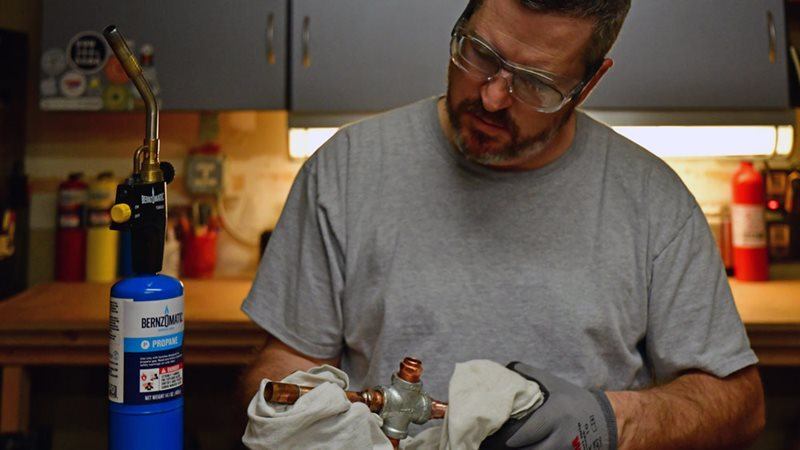
I also give my freshly soldered joints a quick wipe with a rag to smooth them out and clean up the solder joint while it's still hot. From there, it's just rinse and repeat, joint-by-joint.
There's flame and hot metal involved here, so I recommend safety glasses, gloves, and a fire extinguisher nearby.

Sometimes, solder will drip inside the fittings which is normally not an issue. In my case, a droplet plopped inside the bell end of one of my adapters. It would would prevent me from sliding the corresponding piece inside to make my electrical junction box. No big deal, I simply zapped it with a little grinding wheel in a rotary tool.
With all my pieces pre-cut and arranged, I got in the soldering groove. I had my music jamming in the background as I worked my way through the assembly, piece by piece.
The freshly soldered pieces were too hot to handle for more than a second or two with the thin, protective gloves I wore, but a rag does the trick. When a piece is complete, running it under cool water quickly does the trick.
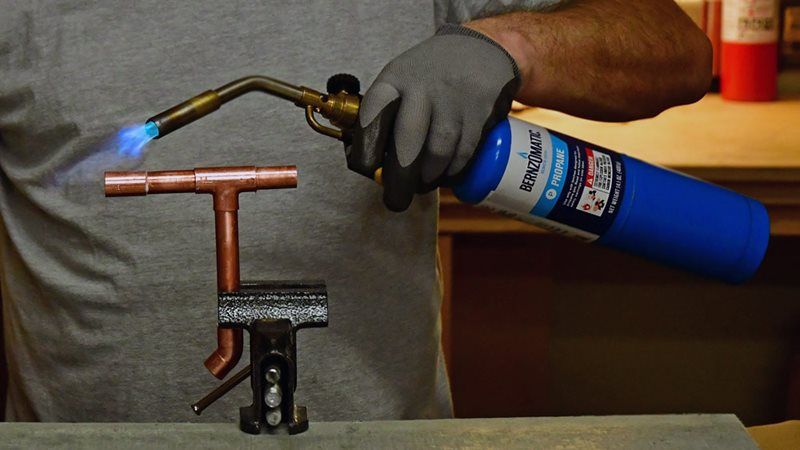
Adding a simple table vice allowed me hold some of the more awkward pieces. I built several sub-assemblies all at once.
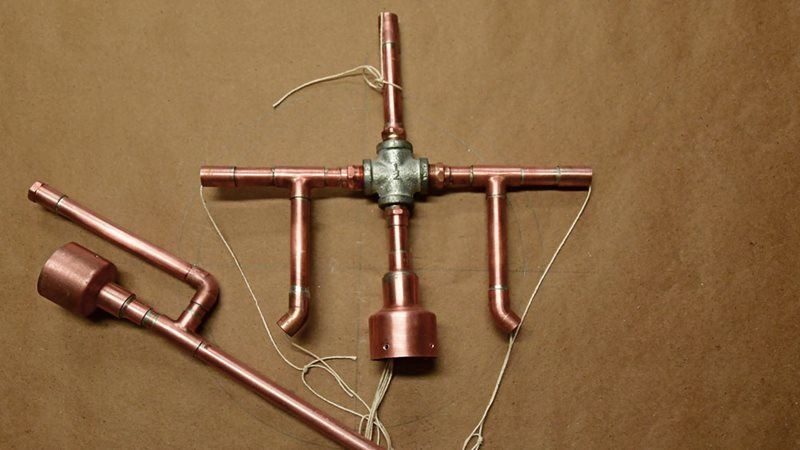
I attached all the subassemblies and finished the main piece off by adding couplings for the lamp bases.
With the main piece complete, I built the lower mast to attach to the tree. Unlike my previous steampunk creations that I intentionally left with a discolored, cooked-metal look, I decided to polish this one up bright. I used some synthetic steel wool to give it a good rubdown.
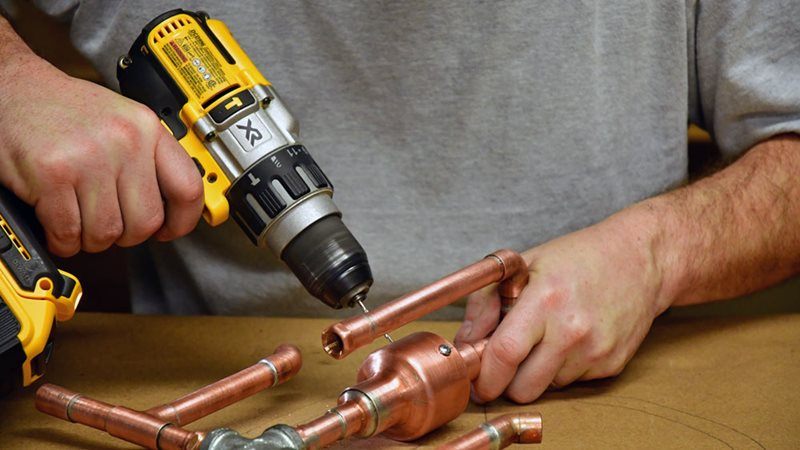
That bulbous wiring box section needed to be detachable and accessible. It could not be heated up and soldered with electrical wiring inside anyway. I pre-drilled a couple holes and installed screws to hold it together. Rather than hide them in the back, I placed them right out front, to showcase the differences in color and texture of screw heads against copper.
Power Up: Electrical Wiring
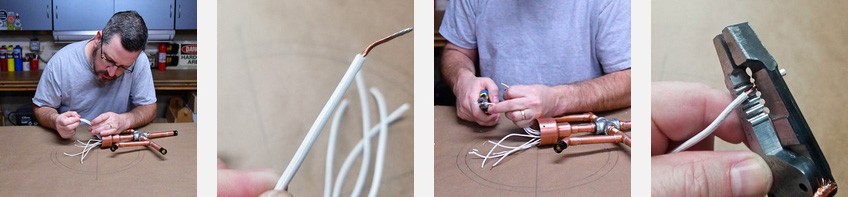
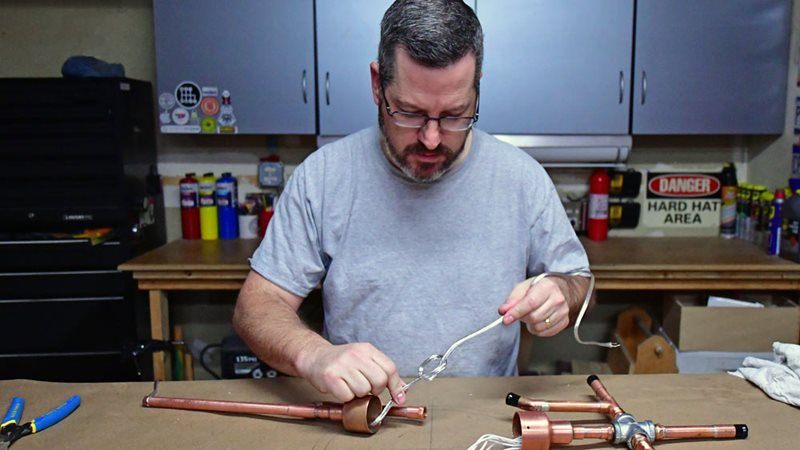
I tied a small nut to a piece of string and tumbled it through the lamp to get string from the arms to the wiring chamber. By the last couple runs, it got a little tricky to get it past the preceding strings. I had to fish the nut out the other end with a hooked probe.
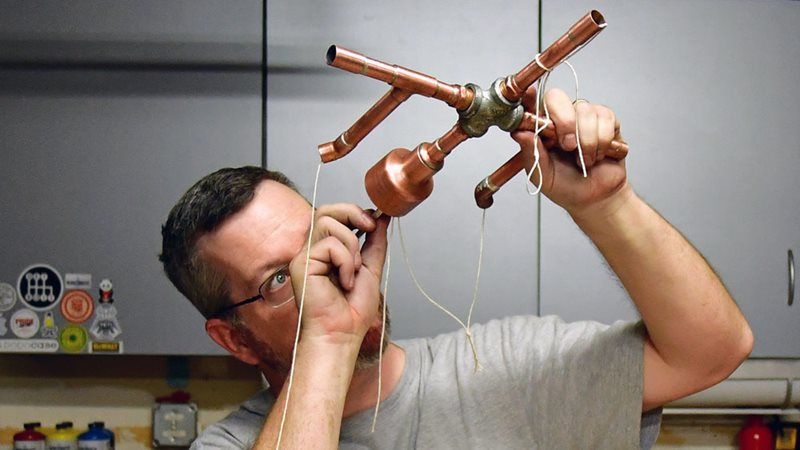
I tied each string together so they wouldn't fall out.
I'd purchased small "candelabra" light bulb sockets online. Unsure about my final design, I'd chosen versions that came pre-wired with 20" leads so they'd be sure to make the distance. I figured I could always trim later and didn't want to come up short.
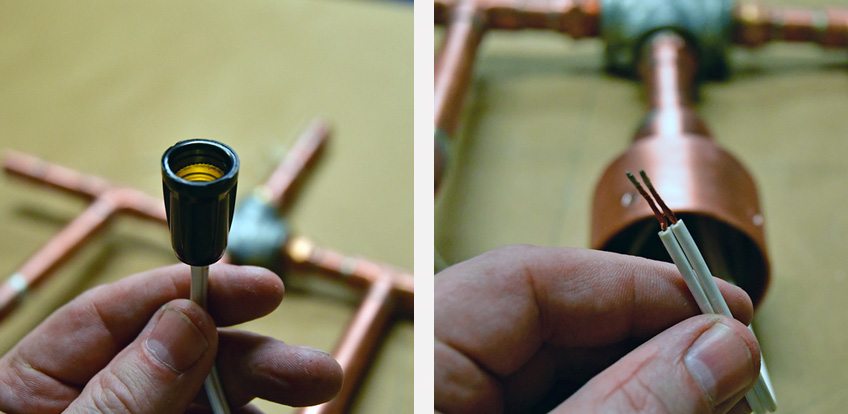
I folded the pre-stripped ends over a string loop and gently push / pulled the cables through the topper. I tried to keep the flat cable from twisting and rolling as it went through. At one short point, there would be 5, two-wire cables sharing a piece of 1/2" tubing. Twisted cable would have taken up too much room for everything to fit.

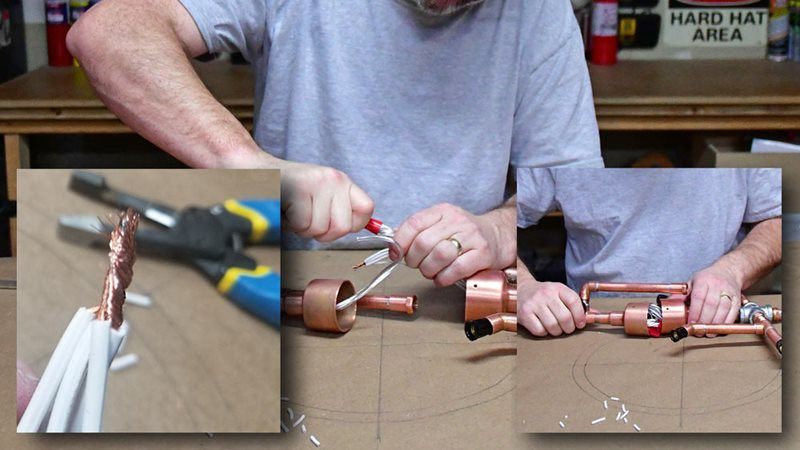
I pulled each of the cables apart, separating the "hot" from the neutral. It's fairly easy to tell which of the wires is which; the neutral has 3 identifying ridges, running along its entire length. I bundled all the hots and the neutrals into like bunches, and trimmed them to the same length, and removed the insulation from the tips with a pair of wire strippers.
I slid a length of lamp cord up through the base and tied a knot to keep it from being pulled back down the pipe.
The lamp cord had the same, neutral identifying ridges along its length. I prepared each wire and twisted them tight with the appropriate hot or neutral bundle. A tight wire nut held them in place for good. I carefully slid the two pieces of the shaft together, tucking the wires gently into place and replaced the screws.
The Moment of Truth - Testing
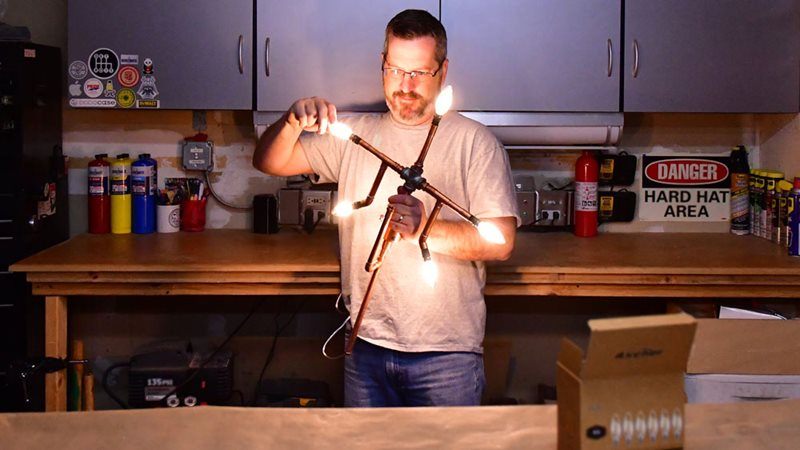
I plugged the lamp cord into my power strip and threaded in some warm-white LED candelabra-style bulbs. They lit up bright on the first try. I had been a little worried I'd crossed a wire or two with my out of date prescription of my glasses.
Final Touches
I'd tapped the candelabra sockets into the fittings installed at the end of each arm of the "star" and just didn't like the looks of the exposed black plastic. Not very steampunky right? To cover them up, I cut several, short lengths of 3/4" tubing and hot glued them over the socket.
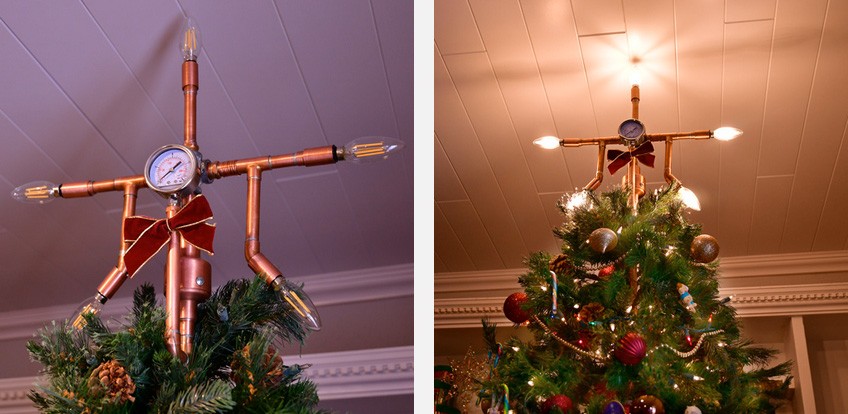
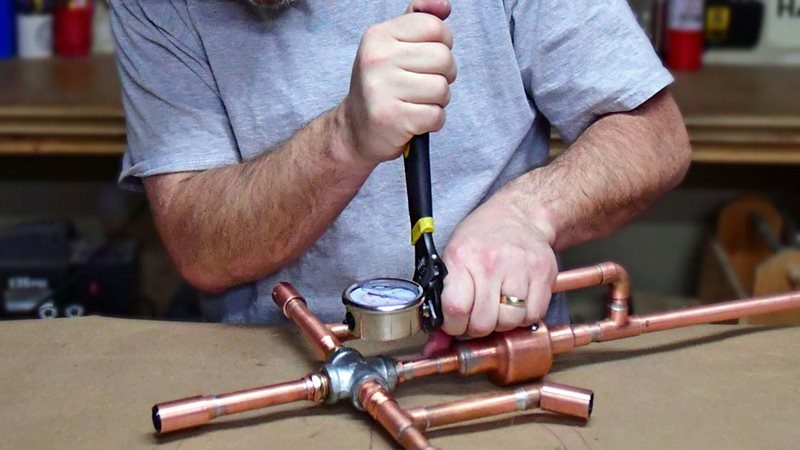
I'd soldered a 1/4" threaded fitting on a vertical branch coming from the base piece. It happily accepted a shiny pressure gauge to complete the look.
With a Christmas bow, the piece was complete.

I popped it atop our Christmas tree and attached it to the central mast with zip ties. I think I may have made this a little too big for our ceiling height. Next time, I'll simply shorten the straight copper sections a bit to scale it down. It's easy to adjust this design to shrink or enlarge it.
I think it turned out really cool.