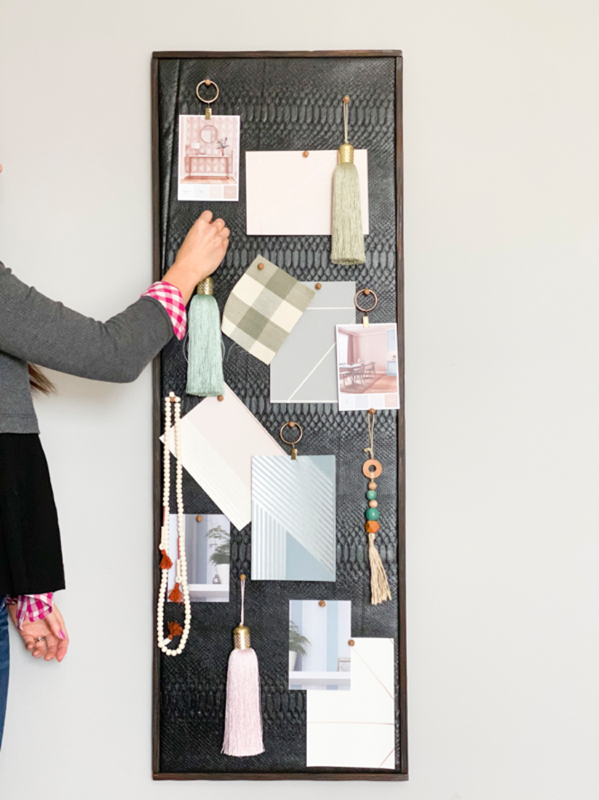
Learn how to make a DIY modern bulletin board using a few tools and supplies.
Directions
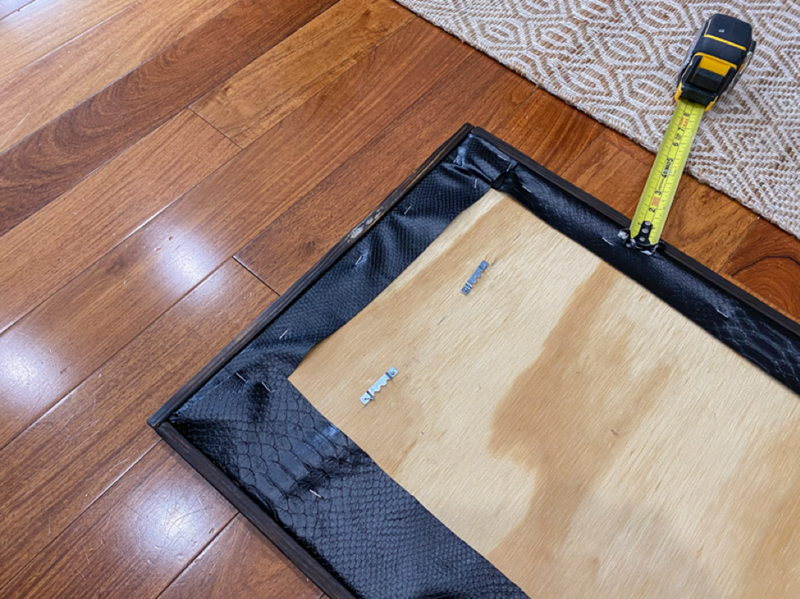
Step 1: Take your fabric and wrap it taut around the plywood.
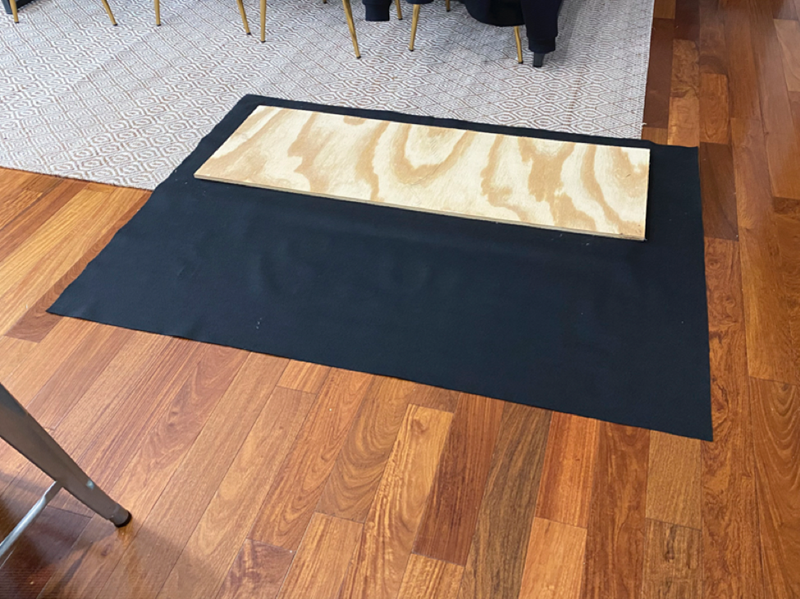
Carefully wrap the fabric around the edges and staple it against the back of the plywood using a hand staple gun. Pull it tight to ensure it’s smooth on the right side. Cut off any excess from the back. One tip is to pull in the corners so that it has the smoothest edge possible. The larger the bulk of fabric, the more difficult it is to have your wood trim sit flush at the edges.
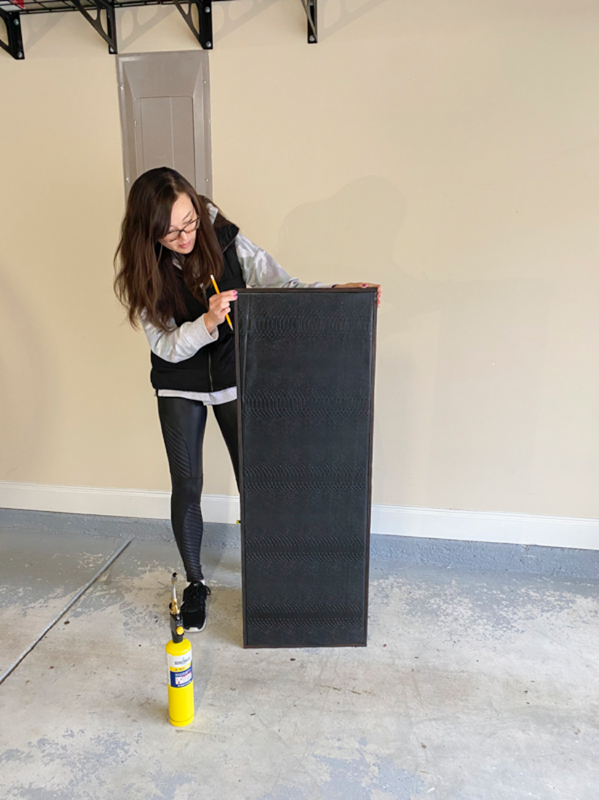
Step 2: Using the Bernzomatic TS8000, burn the wood trim.

This particular torch is designed for a multitude of projects. It torches the wood quickly and creates the perfect charred look without much effort. The fully adjustable flame and pressure regulator made it ideal for this particular type of project.
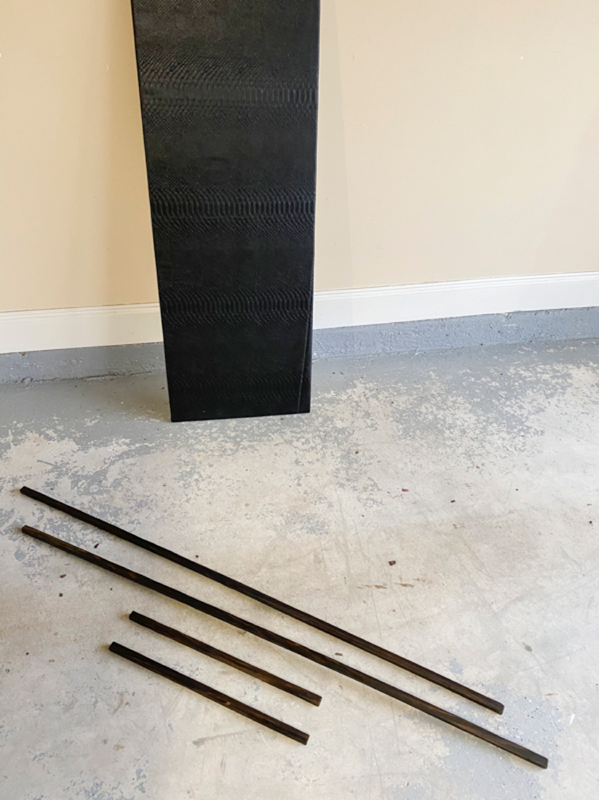
Step 3: Measure the sides of the bulletin board and cut the strips of wood.
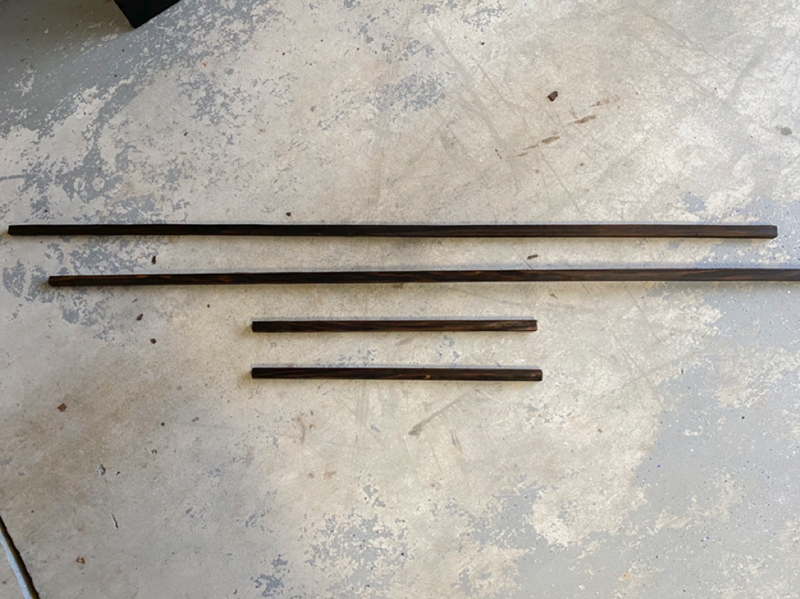
Tip: Recommend cutting the strips a little larger and trimming them down one at a time right before you nail them in.
Step 4: Add a polyacrylic coat to the trim pieces.
When charring the wood, it will leave a lot of black residue on the wood. Taking a piece of cloth, rub on some polyacrylic. This creates a smooth look, removes excess residue and gives it a nice protective finish on the wood.
Step 5: Install the wood trims to the plywood using a brad nailer.
Measure one side at a time and then attach that particular piece of trim to the edge of the plywood. Use a brad nailer to attach the trim and have it sit flush against the edges.
Step 6: Attach sawtooth hangers to the back of the plywood.
You will need a way to hang the bulletin board so attach two sawtooth hangers. Hang it up on your wall and enjoy your new, one of a kind, modern bulletin board! The possibilities are endless with the variety of fabrics out there.