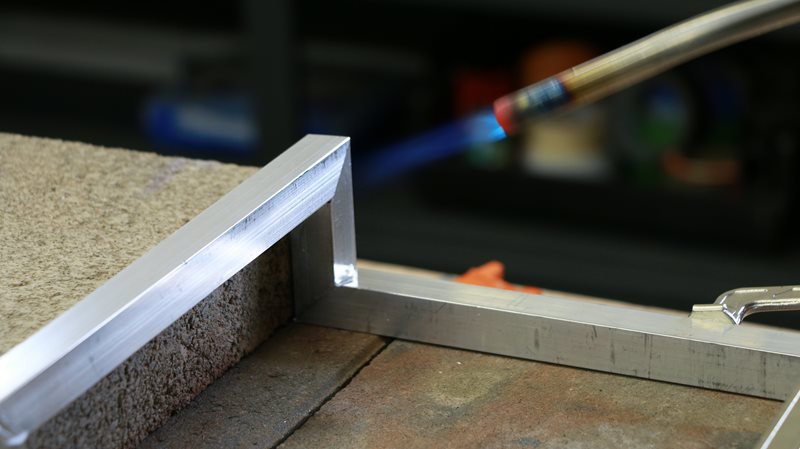
Have you always wanted to make custom pieces of furniture even if it included both a metal and a wood element? Well now you can! Check out this Mini DIY Bookcase and give it a shot yourself!
Directions
START RIGHT
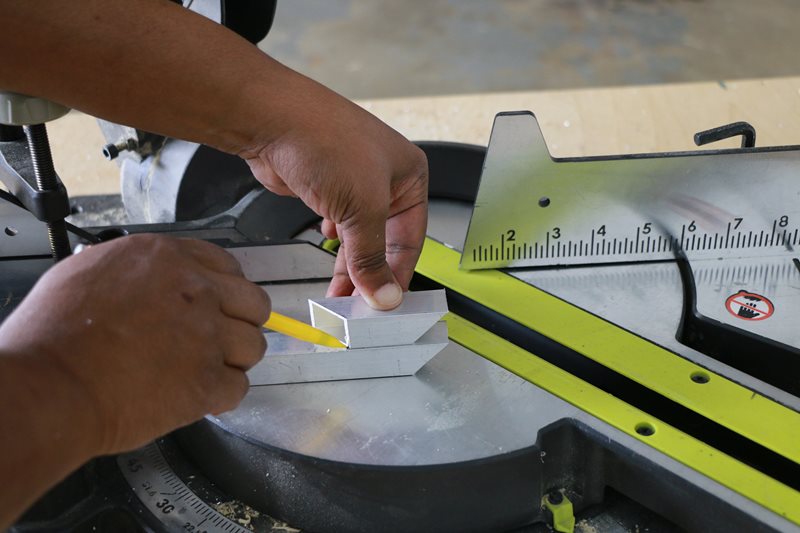
You’ll notice in the video that I start by cutting the smaller 2″ pieces first. This is because you need long pieces to safely cut such a small piece off. Please do this step first as directed.
IMPORTANT CUTS
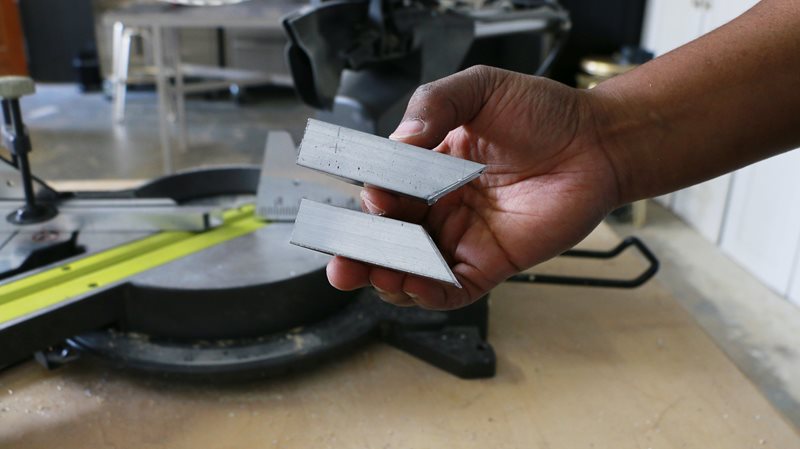
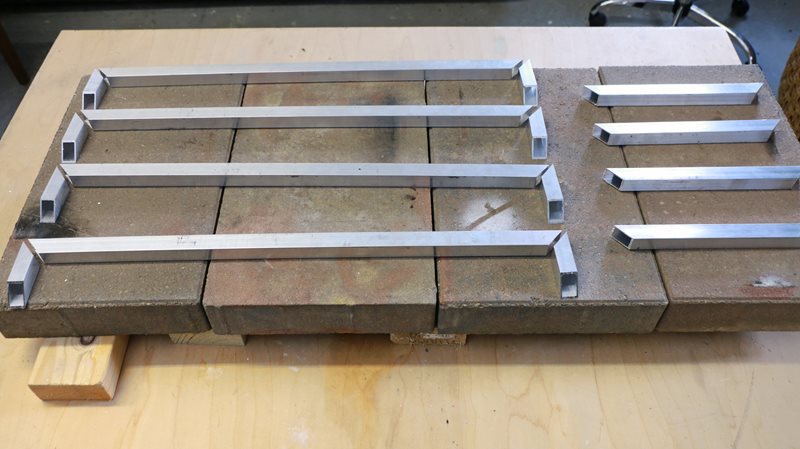
In case you missed it, 4 of your 2″ pieces will be identical, but the other 4 will have an angle pointed in the opposite direction. So be sure to follow the video directions carefully! This is so you can make the configuration shown below. Note the long 24″ and 12″ cuts are made with the angles both flaring outward.
OVERVIEW OF CUTS
(8) 2″ pieces, (4) 24″ pieces, (4) 12″ pieces, (2) 8.5″ pieces (approximate size… this should be measured and cut when you get to that part of your project), and (2) custom sized pieces (mine measured 22″).
SOLDERING NOTE
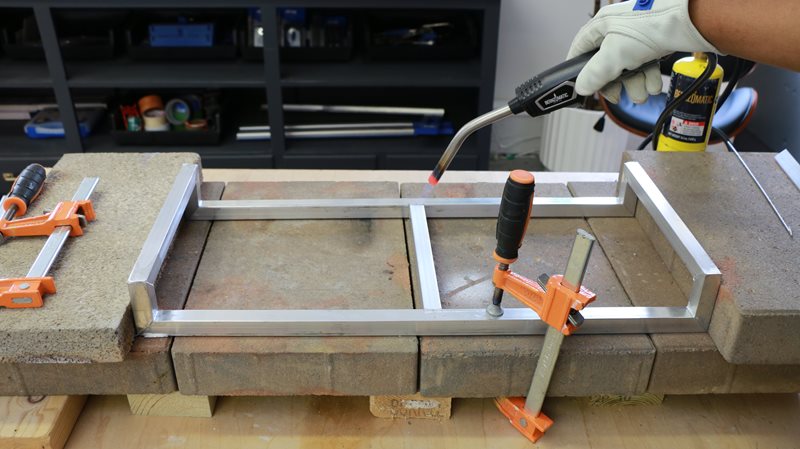
Don’t just solder one connecting joint for each corner, be sure to do a minimum of 2. If 3 are showing and accessible, go for it! However, do not plan to flip it over and do the joints not showing…you will likely undo your previous soldering job by heating that joint a second time.
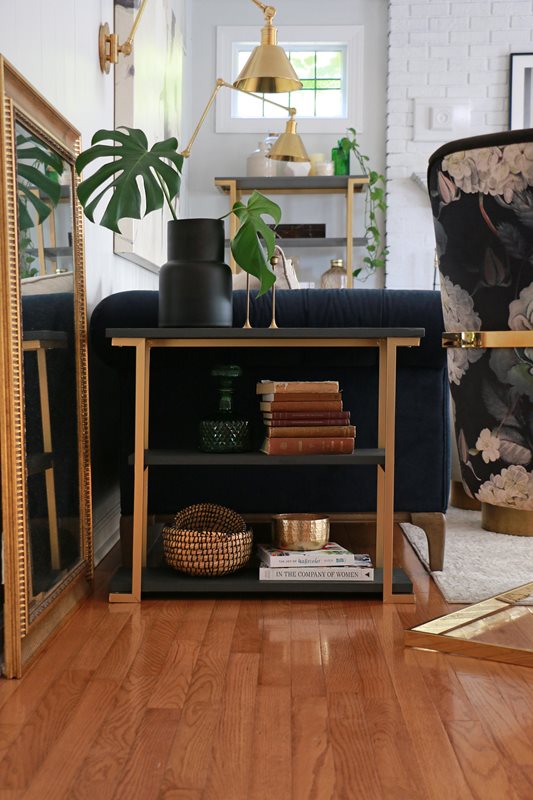
Style & Enjoy Your DIY Bookcase!
Tips
Tool Tip
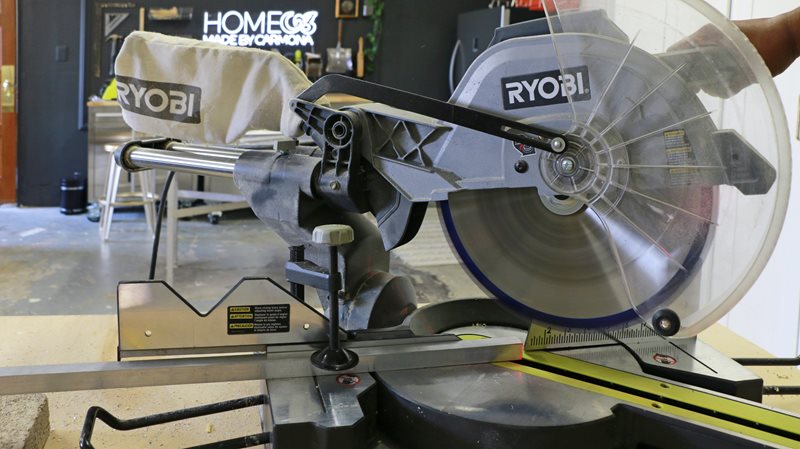
You’ll want to use a miter saw with a small tooth blade that cuts metal for this project. Sure you could use other tools to cut aluminum, but this will be easier as we want to make accurate 45-degree angle cuts.
Soldering Tip
It is important to heat the aluminum hot enough to melt your brazing rod. It can take anywhere from 3-5 minutes to get it hot enough, so be patient!
