Directions
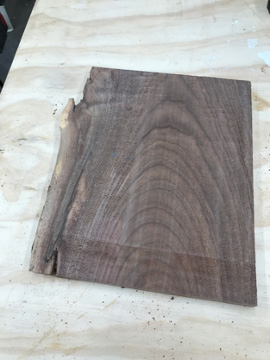
Pick out your piece of wood and determine what size your clock will be. Cut the twisted end off of the wood, if needed, and proceed to plane very light passes to make as flat as possible. It is recommended to start with the flattest board you have.
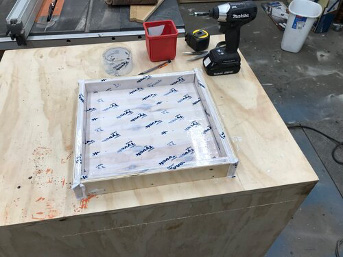
Next up, make a mold that will house the wood and epoxy. Oversize it just slightly so there is wiggle room when cutting the circle later. Note: be sure not to make it too big or else you will be wasting epoxy. Cover with sheathing tape so epoxy doesn’t stick to it. Seal the edges with some silicone caulk so epoxy does not leak.
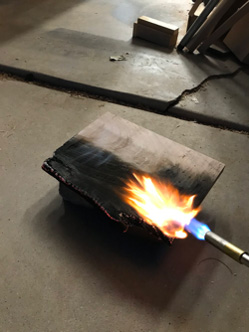
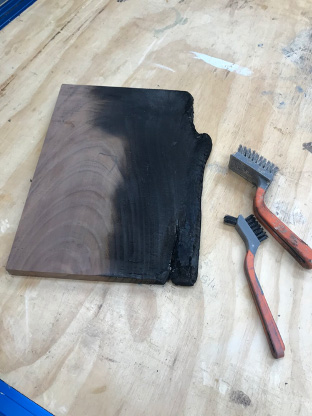
Set mold aside and use the Bernzomatic TS8000 Max Heat Torch with Map Gas to Shou Sugi Ban the live edge of the walnut. After torching, use a wire brush to remove some of the charred finish and expose some texture of the wood.
Time for the epoxy pour. Mix the epoxy per the directions. First, seal a coat of epoxy over the burnt portion of the wood to avoid air bubbles coming from the porous burnt wood. Then, fill the void with two separate pours so as not to overheat and ruin the epoxy. Each brand of epoxy is different on how much and deep you can pour at a time, so be sure to read the instructions that come with your epoxy.
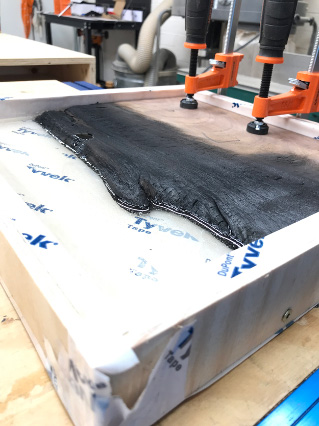
Use the Bernzomatic ST2200T torch with butane to pop air bubbles.
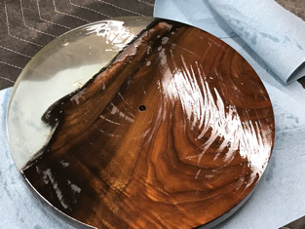
Let epoxy cure overnight. Then, use a circle cutting jig and trim router to shape the piece into a circle. Start sanding with 80 grit, 120 grit, 180 grit, 220 grit, 320 grit, 400 grit and then lastly 600 grit.
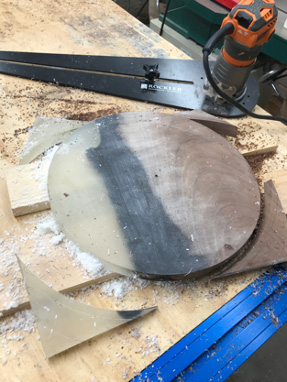
Next, recess a hole in the back of the clock to house the clock mechanism.
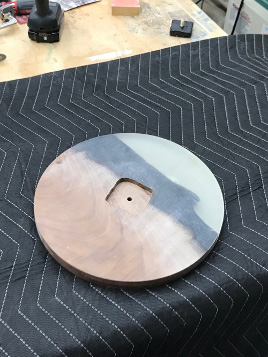
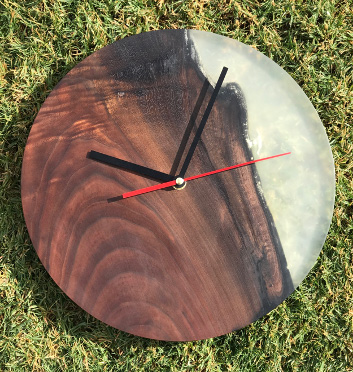
Finish the piece with mineral oil. Install the clock parts per their instructions and add a sawtooth nail hook to hang.
