Project Credit: Bernzomatic Torchbearers, Mark & Theresa Clement
So here’s how we took some 1/2-inch copper pipe, a torch, some basic tools and made our wicked awesome wine rack.
We cut all our pipe first. Copper is soft enough to cut with a miter saw. Tip: Ease the saw into the work, don’t ‘chop’ too fast. The pipe can deform and not mate up with a fitting. And, wear safety glasses. Yes, it’s soft, but copper is still metal. Everything here is 1/2-inch material. For this three-bottle wine rack we used 10-feet of 1/2-inch copper pipe, 6 tees, ten 90-degree elbows, 6 caps, and 4-pipe straps.
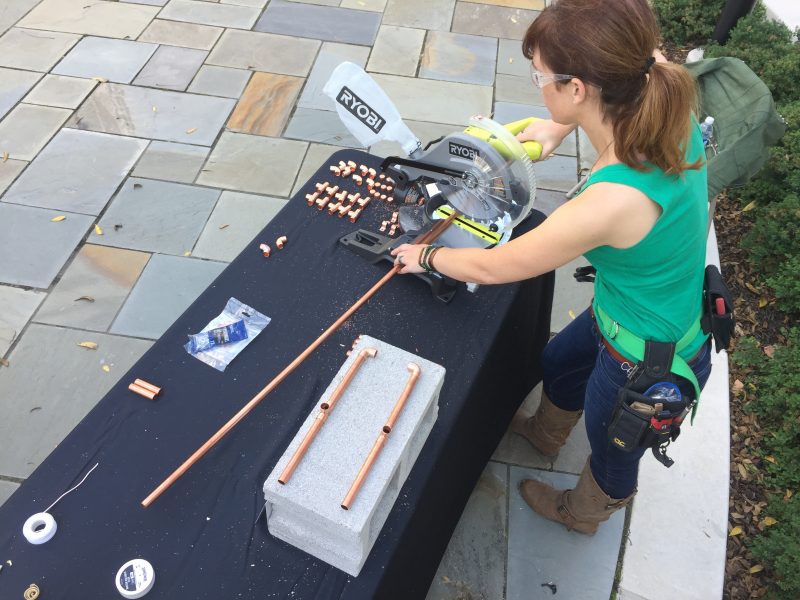
Copper is a soft metal and can be cut on a miter saw. Wear safety glasses.
Even though this is a wine rack, we still soldered like it was a plumbing fitting. And I love it every time the solder draws into a fitting! So cool!
To get the best joints possible, sand or wire brush the fitting and pipe on the surfaces that’ll touch, then apply flux with a brush.
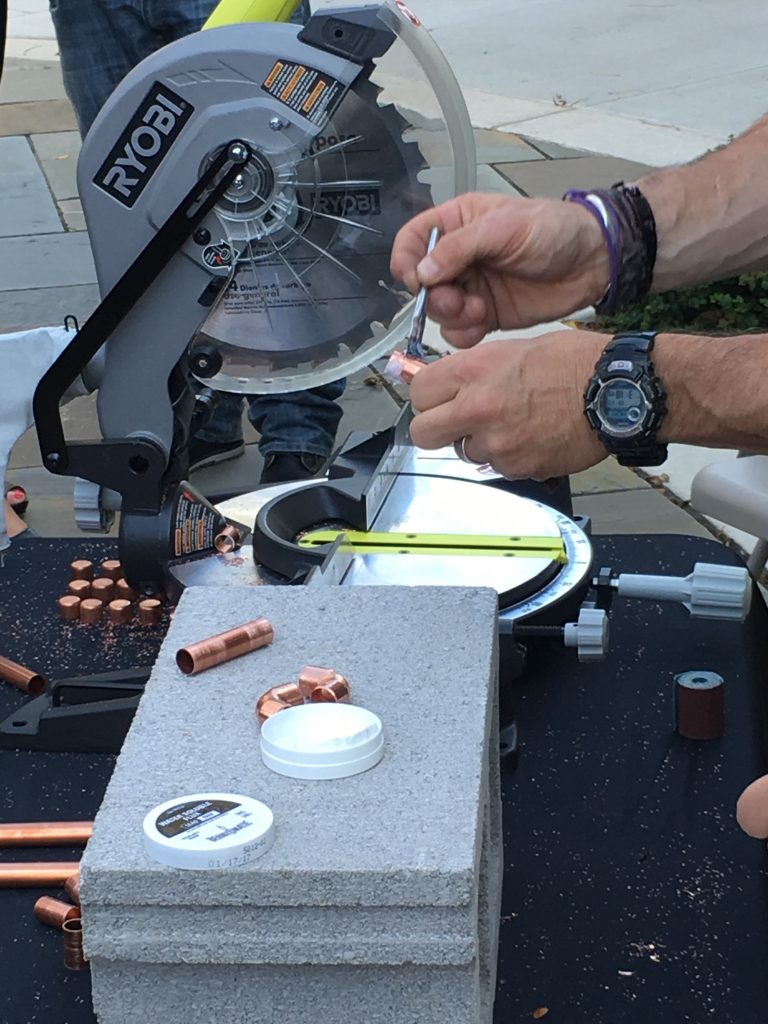
We sanded and fluxed all our tees and 90s before applying heat.
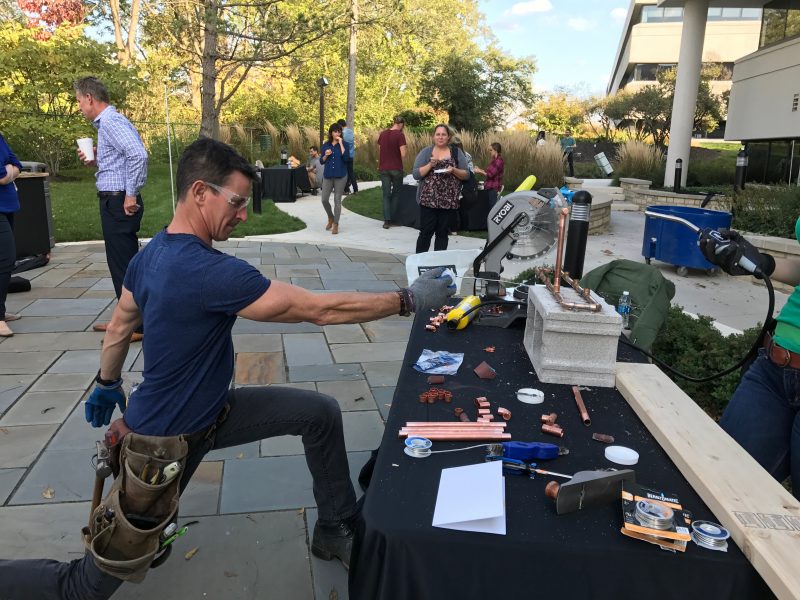
This is a slightly stylized way of soldering. We used MAP/Pro gas and Bernzomatic’s BZ8250HT torch, which we love for table top DIY like this.
Not only did we chamfer the edges of the 2×6 backer board with a low-angle block plane, we brought out the grain with flame. It only took a few minutes to add instant awesome.
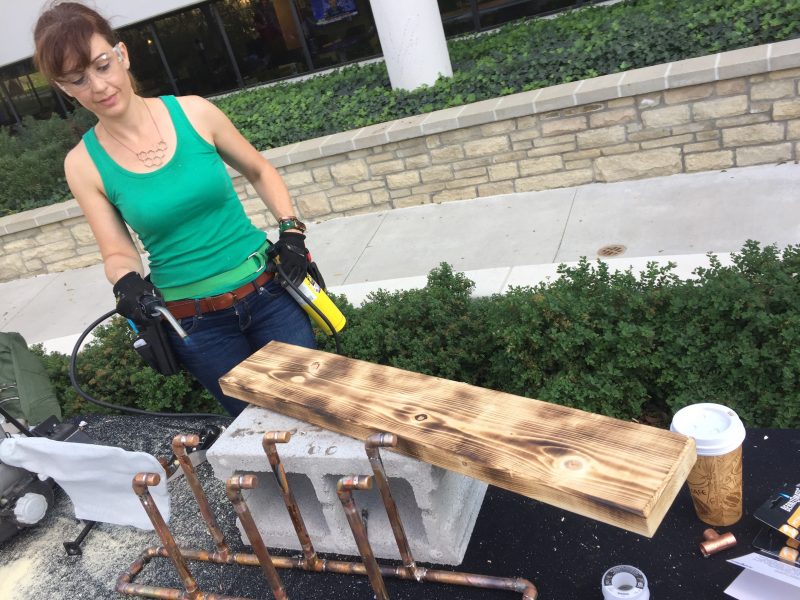
Add immediate patina and texture by burning the wood backer.
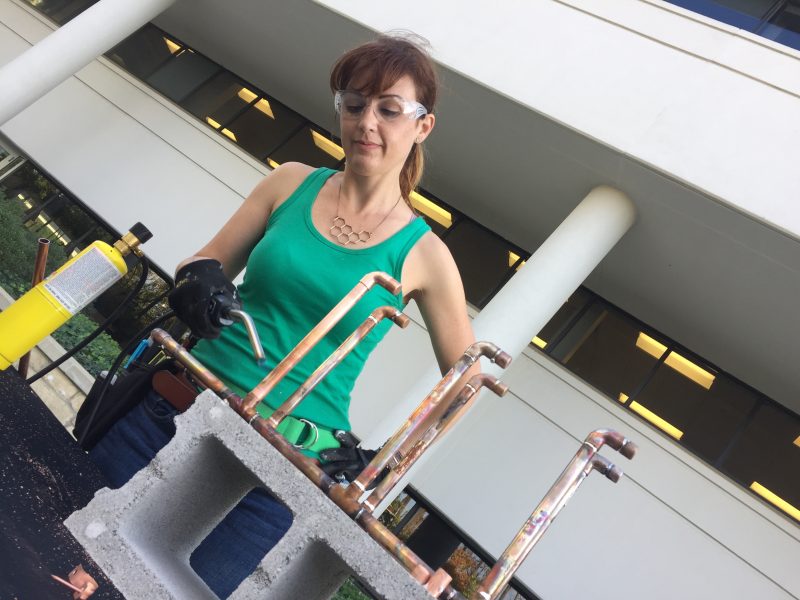
One last thing: The pipe-ends are turned up so the wine bottle rests slightly tipped. The reason for that is so the cork stays wet during storage.
I’m not sure if any of us store wine that long, but if you do, you’re good to go. Coincidentally, this is also a perfect storage rack for bottle of Bernzomatic gas bottles.

The ends of the wine rack are turned up so the bottles are slightly tipped, keeping the cork wet.