Project Credit: Bernzomatic Torchbearer John Melton
Directions
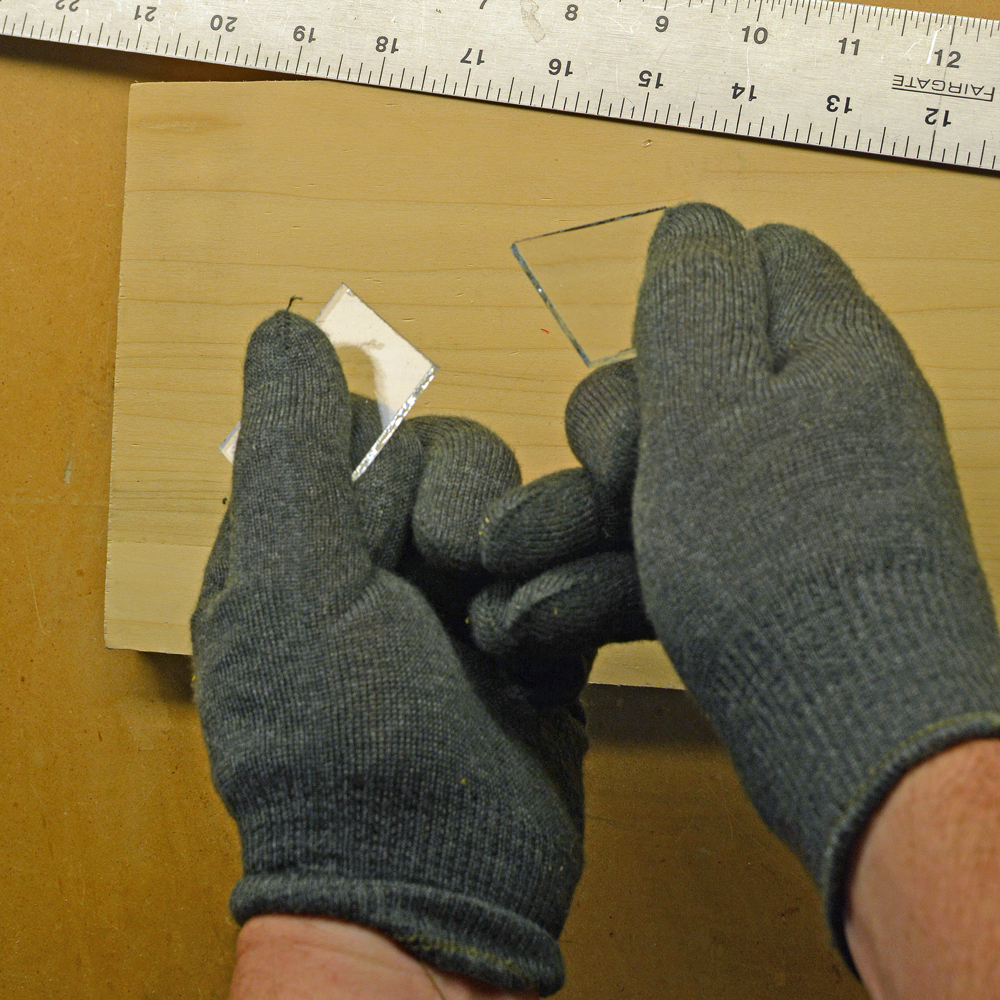
STEP 1: GLASS CUTTING
I picked out three interesting pieces of sheet glass at the craft store. They have a variety of colors, textures, and designs to choose from. The sheets came in 12" squares and cost about $10 each.
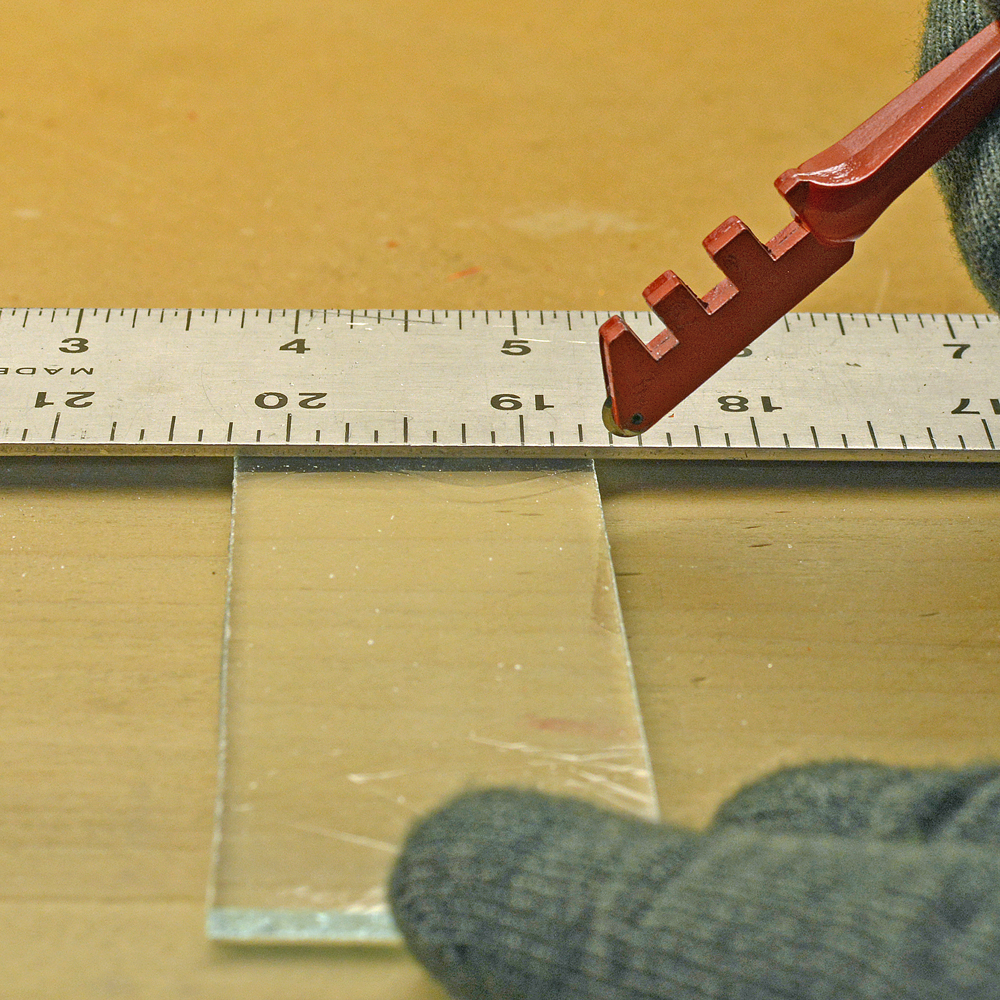
I put on my gloves and safety glasses before starting with a sheet of clear glass, with a stringy looking texture. I used a T-square to guide my cuts, starting large and breaking it down into more manageable pieces.
The cutting is done with a handy glass cutting tool. It's got a tiny wheel that rolls across the surface of the glass, scoring it. The trick is to score it in one pass, edge to edge, pushing the cutter away from you as you roll it. I experimented a with it a bit until I got the hang of it. I got to where I could tell how hard to press and how fast to roll it by the crackling sound it made.
After its scored, it's a simple snapping motion with thumbs close to the line. They make special pliers for this, but I had pretty good luck popping the pieces apart by hand.
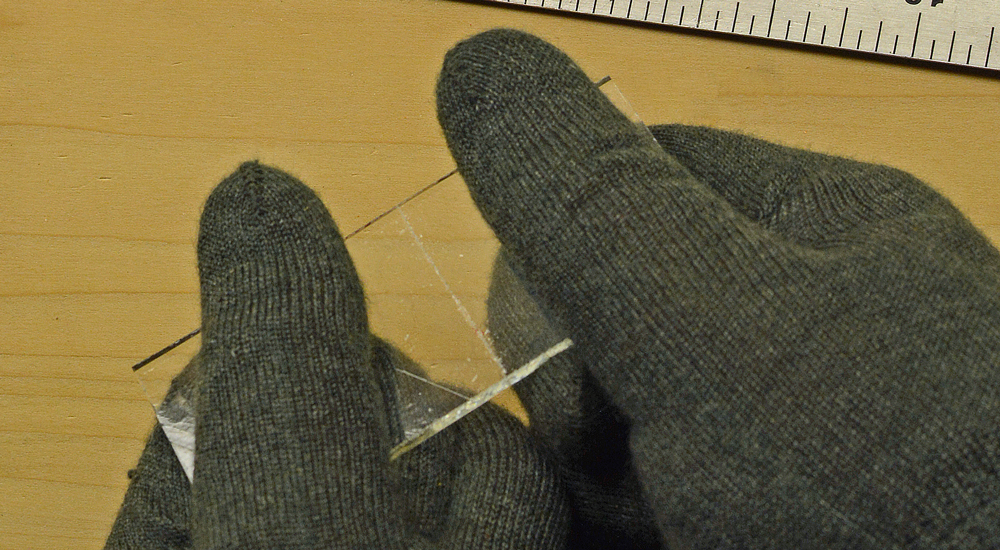
There's a little ball-end on the cutter too. For small trimming jobs where I couldn't get enough leverage with my hands, a quick tap over a staight edge of a board trimmed pieces off perfectly.

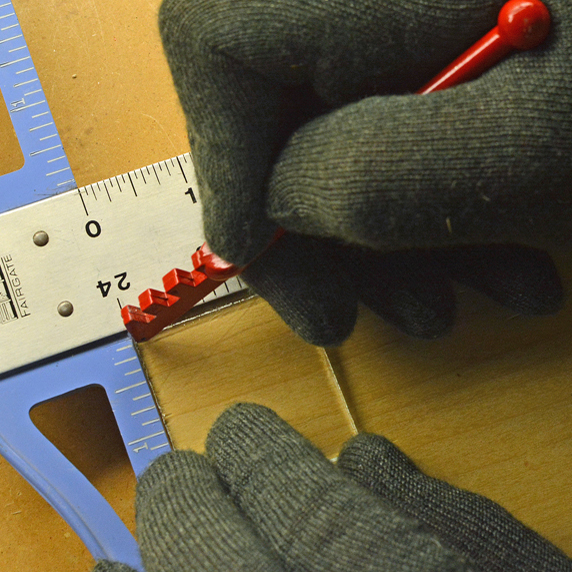
A rippled green sheet was next. The scoring needs to be done on the smoothest side.

Finally, a rippled red. I used the width of my T-Square to size the pieces, about an inch and a half wide.

It didn't take too long to break down all three sheets into little glass squares. I had some breakage here and there when I was snapping the larger cuts, but in the end, I had plenty to work with.

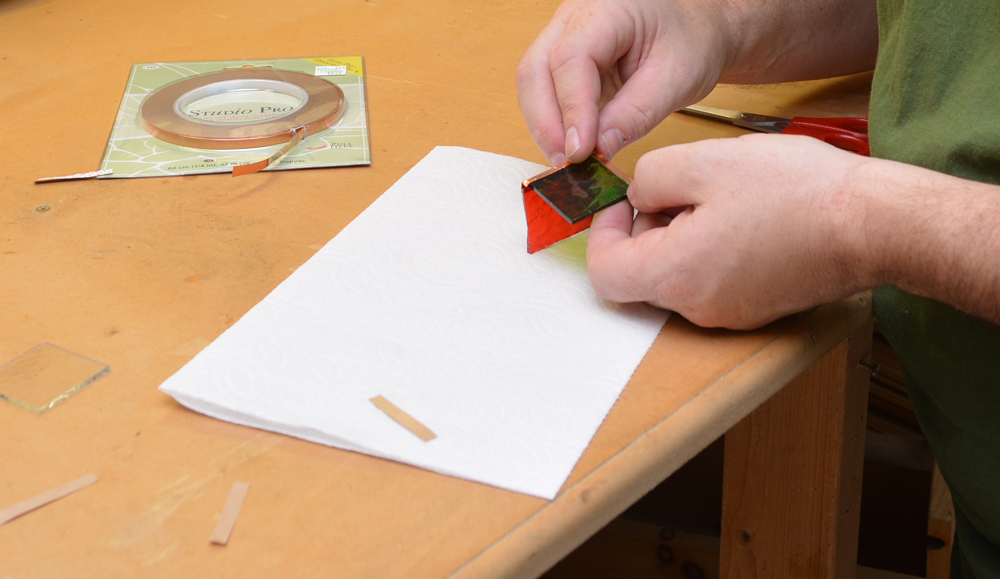
STEP 2: ASSEMBLE THE CUBES
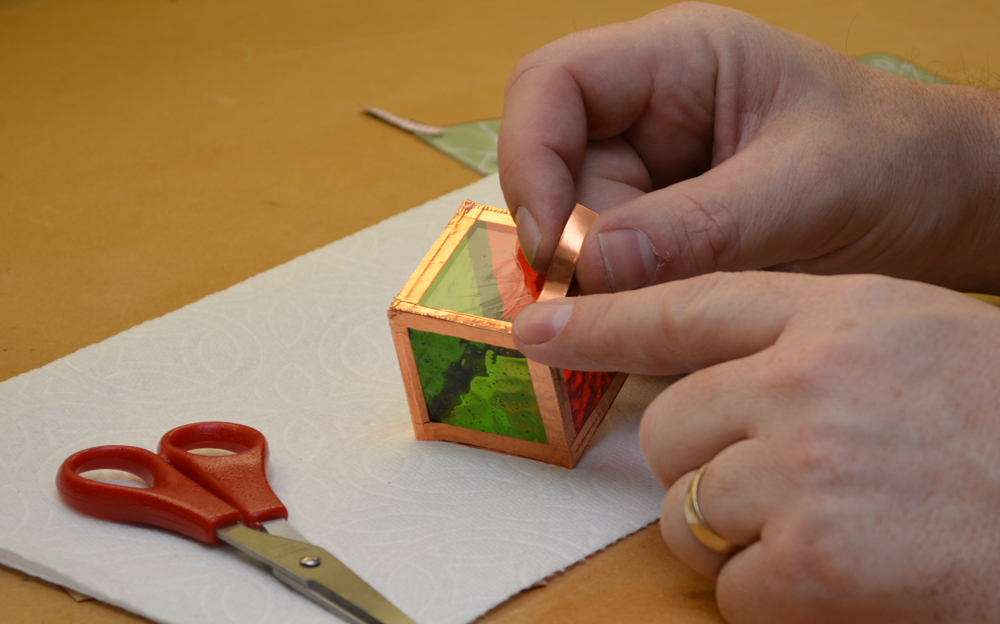
I found stained glass foiling tape, a thin copper-faced, peel-and-stick product. I'd essentially tape the pieces together to form the cubes.

This was a bit of a tedious process. I had to adhere the pieces together in such a way that they would line up as a perfect cube, but still have nice, tight butt joints. After a while I got it down. I added a second, overlapping layer of tape so there would be nearly a full width on both of the mating surfaces. Once everything was in place, I'd burnish it down with the back of my fingernail, smoothing out any voids.
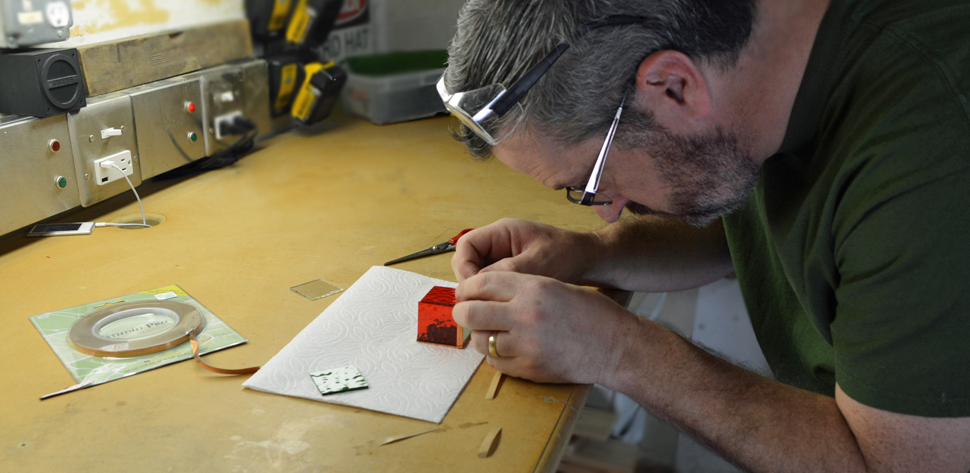
STEP 3: SOLDERING / "SILVERING"
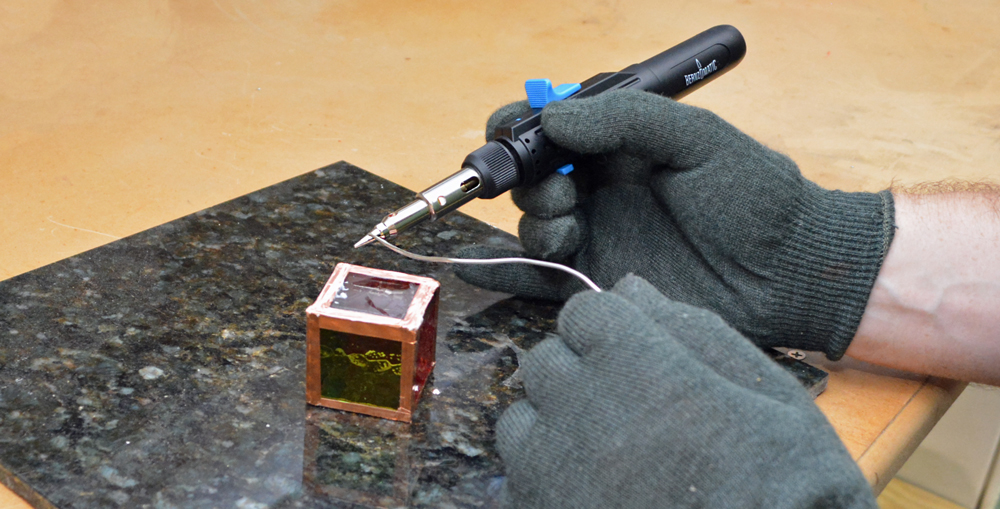
In this next step, I'd adhere the whole ornament together permanently and color the edges with a reflective, silver-metal finish. I used a Bernzomatic ST500 Micro Torch / Soldering Iron, plumbing flux, and electrical solder. You last saw me use the mini torch, was as a wood burning implement on the pallet wood pirate flag project.
It's a refillable, butane-powered wonder with trigger start, adjustable flame, and a lock-on button. It's easy to handle, like working with a permanent marker.

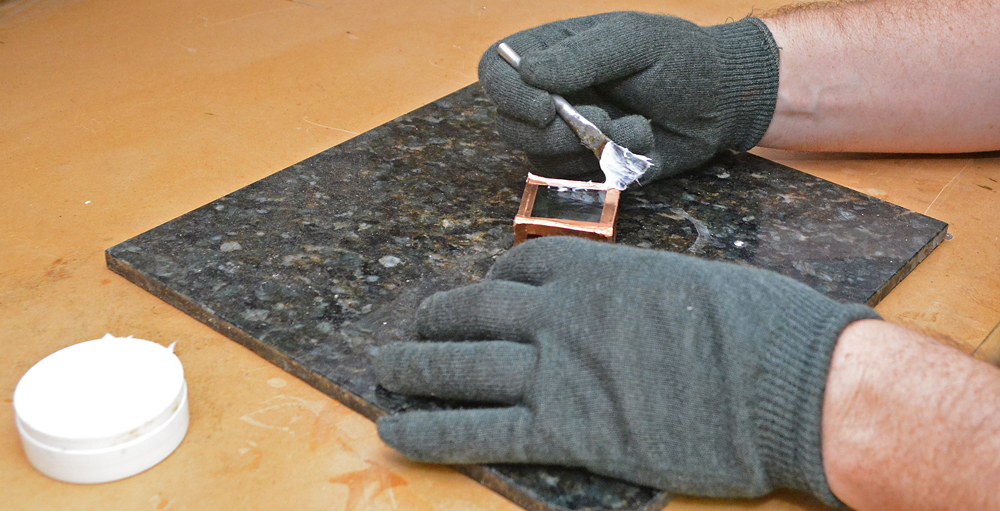
I used a cheap brush from the welding section at the hardware store to spread a thin layer of flux across the copper tape before applying the solder. You don't have to be too neat with this step, if it gets on the glass, it will wash off easily later.
Rather than heating the copper, like I do when you are sweating plumbing pipe together, I melted the solder directly onto the soldering iron tip. From there, I simply put the tip on the copper and slide it along, sizzling the flux as it goes. The molten solder gets drawn from the tip onto the tape. A little dab goes a long way.
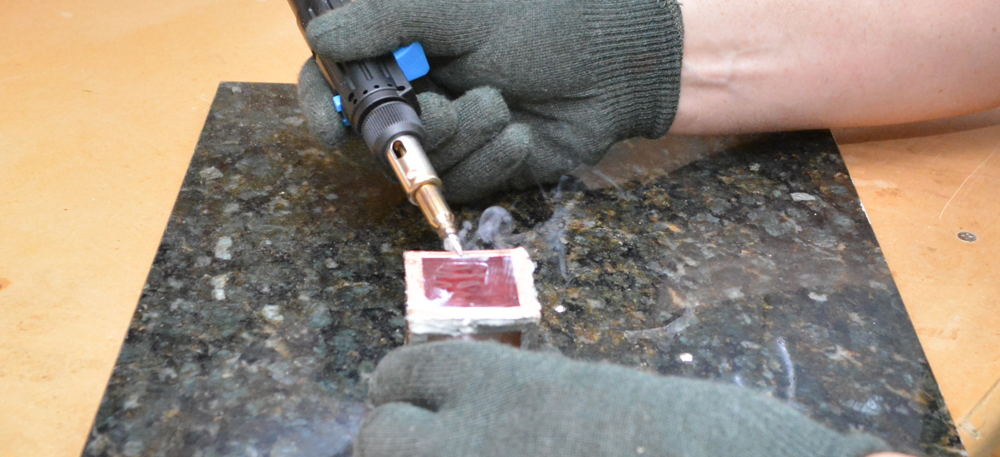
The torch is super hot, so I was able to go back over any of the lumpy areas and melt any blobs to smooth them out. It's incredible how the molten solder does not flow out onto the glass. It stays confined to the copper tape, so it's super easy.

STEP 4: HANGING RING
I picked up these little rings in the jewelry making section of the craft store. In another tedious step for those of the XL hand persuasion, these tiny little "jump rings" got a wrap of the copper foil tape.

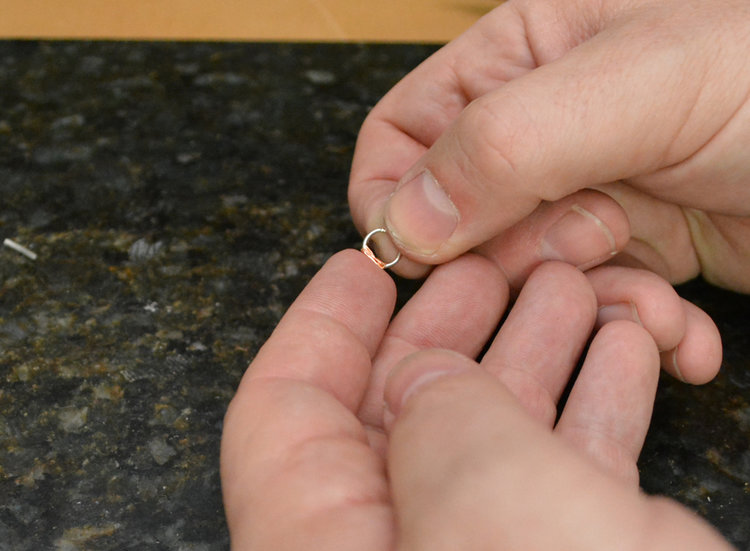
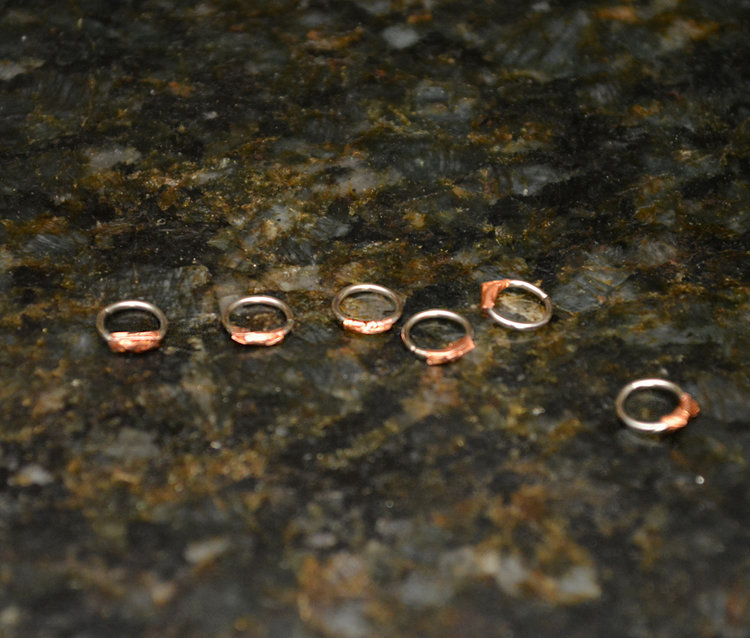
I gave the wrapped end a quick dip in the flux and laid a dollop of the molten flux in place. Since I wasn't heating much metal up, like I would if I was soldering plumbing, it cooled enough to lock in place pretty quickly. I was able to give it a little nudge with my gloved hand to straighten it a bit as it hardened.

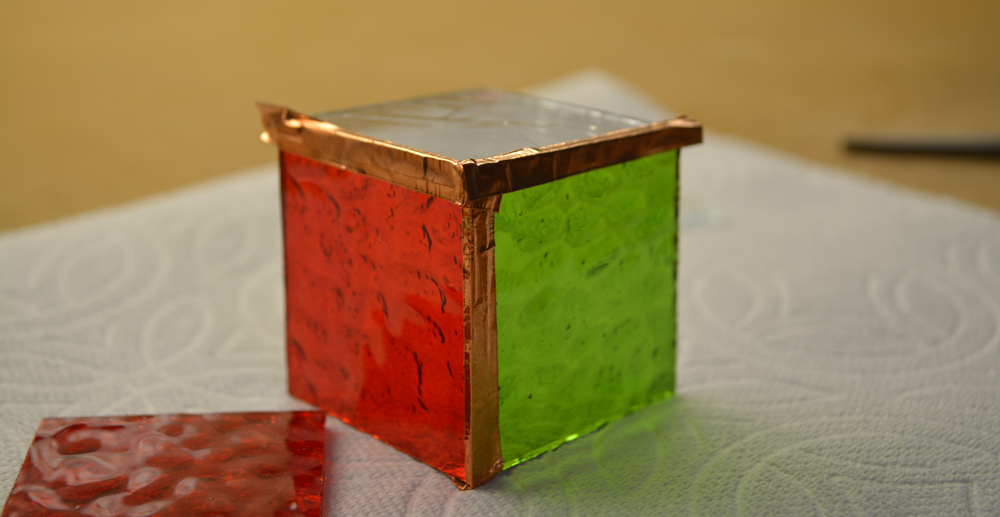
STEP 5: DECORATE!
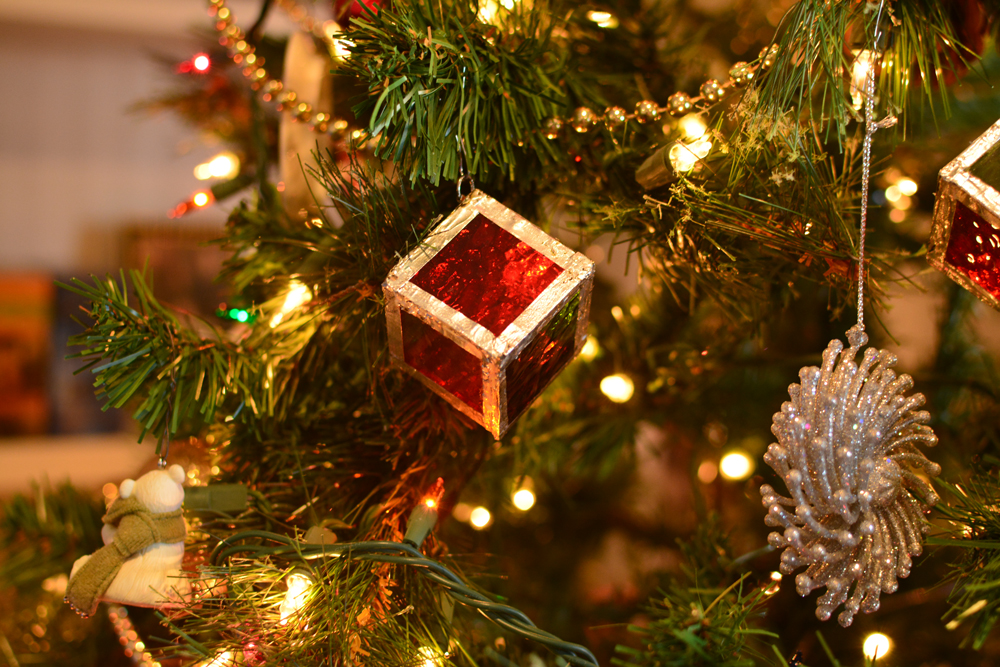
That's it! I washed the the cubes in soapy water to get the soot and flux off, slipped a wire ornament hanger into the ring, and carried the handful out to the tree in the family room.
They really sparkle and glisten. I built a few combinations, but I think the ones that look best have the clear glass on opposing sides, letting the light shine inside. It lights up the green and red panels nicely. I made a solid red version, which still looks decent, but the glass is a little dark.